Implementing a Status Check:
- ESP32 Setup: Program your ESP32 to periodically send its status to your server. This can be done using HTTP requests to a PHP script on your server.
- PHP Script: Create a PHP script to handle incoming status updates and store them in your MySQL database.
- HTML and JavaScript: Update your HTML page to display the status of the ESP32 by fetching the latest status from the server.
Step-by-Step Implementation:
ESP32 uC Code
#include <WiFi.h>
#include <HTTPClient.h>

// Replace with your network credentials
const char* ssid = "your_SSID";
const char* password = "your_PASSWORD";

// Server URL
const char* serverURL = "http://yourdomain.com/update_status.php";

void setup() {
  Serial.begin(115200);
  WiFi.begin(ssid, password);

  while (WiFi.status() != WL_CONNECTED) {
    delay(1000);
    Serial.println("Connecting to WiFi...");
  }

  Serial.println("Connected to WiFi");
}

void loop() {
  if(WiFi.status() == WL_CONNECTED){
    HTTPClient http;
    http.begin(serverURL);

    // Send a POST request
    http.addHeader("Content-Type", "application/x-www-form-urlencoded");
    int httpResponseCode = http.POST("status=live");

    if(httpResponseCode > 0){
      String response = http.getString();
      Serial.println(httpResponseCode);
      Serial.println(response);
    } else {
      Serial.println("Error in sending request");
    }

    http.end();
  } else {
    Serial.println("Disconnected from WiFi");
  }

  delay(10000); // Send status every 10 seconds
}
PHP Script (update_status.php)
<?php
$servername = "localhost";
$username = "your_db_username";
$password = "your_db_password";
$dbname = "your_db_name";

// Create connection
$conn = new mysqli($servername, $username, $password, $dbname);

// Check connection
if ($conn->connect_error) {
  die("Connection failed: " . $conn->connect_error);
}

if ($_SERVER["REQUEST_METHOD"] == "POST") {
  $status = $_POST['status'];
  $timestamp = date('Y-m-d H:i:s');

  $sql = "INSERT INTO esp32_status (status, timestamp) VALUES ('$status', '$timestamp')";

  if ($conn->query($sql) === TRUE) {
    echo "Status updated successfully";
  } else {
    echo "Error: " . $sql . "<br>" . $conn->error;
  }
}

$conn->close();
?>
MySQL Database
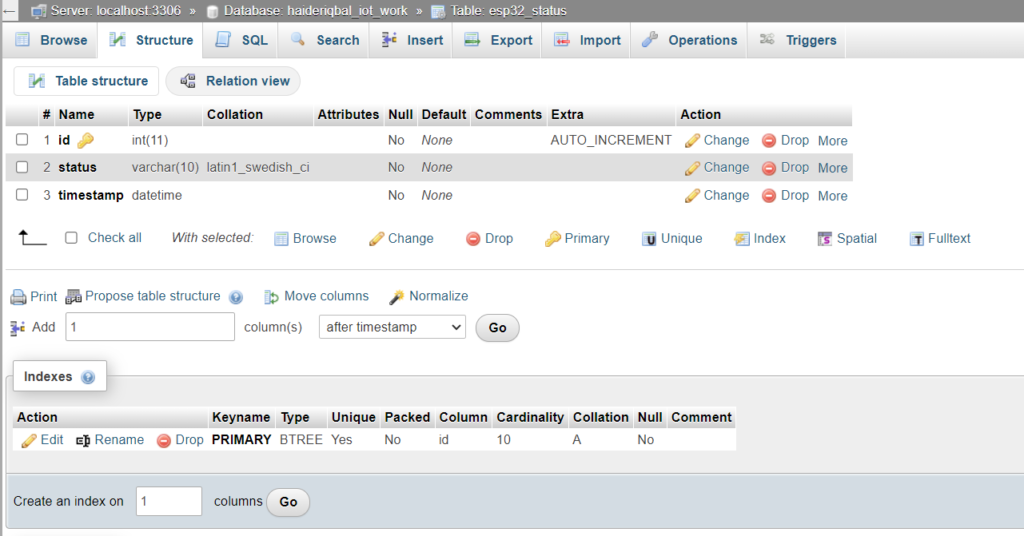
- Create a Table: In your database, create a table to store the ESP32 status.
CREATE TABLE esp32_status (
    id INT AUTO_INCREMENT PRIMARY KEY,
    status VARCHAR(10) NOT NULL,
    timestamp DATETIME NOT NULL
);

HTML and JavaScript
<!DOCTYPE html>
<html>
<head>
    <title>ESP32 Status</title>
    <script>
        async function fetchStatus() {
            try {
                const response = await fetch('fetch_status.php');
                const data = await response.json();
                document.getElementById('status').innerText = data.status;
                document.getElementById('timestamp').innerText = data.timestamp;
            } catch (error) {
                console.error('Error fetching status:', error);
            }
        }

        setInterval(fetchStatus, 5000); // Fetch status every 5 seconds
    </script>
</head>
<body>
    <h1>ESP32 Status</h1>
    <p>Status: <span id="status"></span></p>
    <p>Last Updated: <span id="timestamp"></span></p>
</body>
</html>
PHP Script to Fetch Status (fetch_status.php)
<?php
$servername = "localhost";
$username = "your_db_username";
$password = "your_db_password";
$dbname = "your_db_name";

// Create connection
$conn = new mysqli($servername, $username, $password, $dbname);

// Check connection
if ($conn->connect_error) {
  die("Connection failed: " . $conn->connect_error);
}

$sql = "SELECT status, timestamp FROM esp32_status ORDER BY id DESC LIMIT 1";
$result = $conn->query($sql);

if ($result->num_rows > 0) {
  $row = $result->fetch_assoc();
  echo json_encode($row);
} else {
  echo json_encode(["status" => "unknown", "timestamp" => ""]);
}

$conn->close();
?>
Database Structure

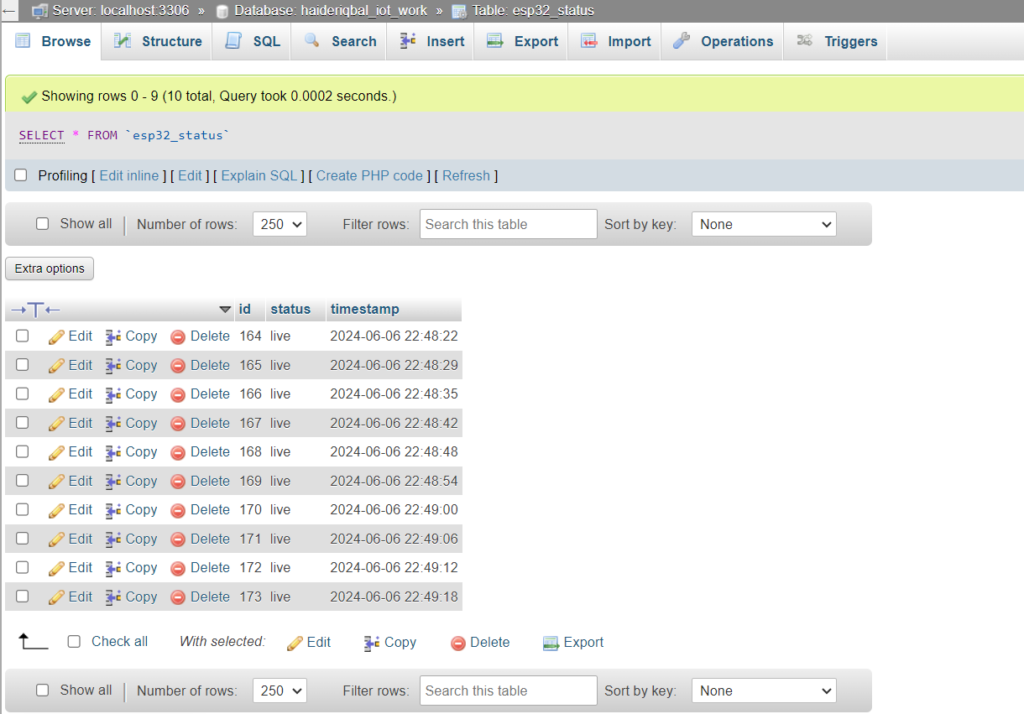
Real Time Table data

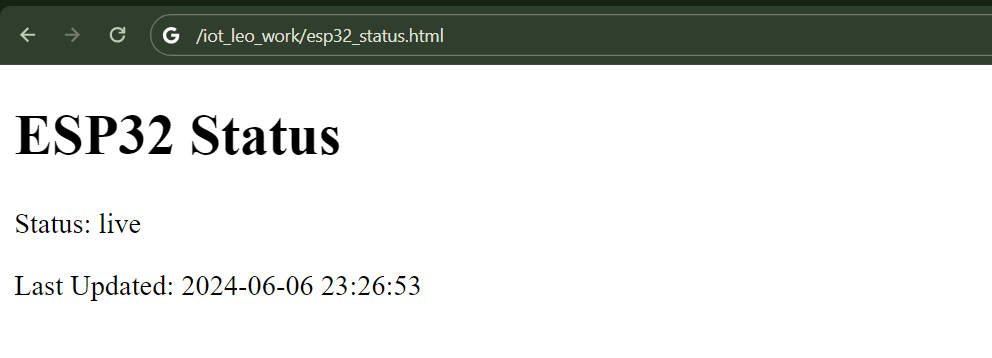
HTML Live Preview

Further Learning and Improvements
- Security: Implement security measures such as HTTPS and sanitizing inputs to prevent SQL injection.
- Error Handling: Enhance error handling both on the ESP32 and server-side scripts.
- Authentication: Add user authentication to control access to the status page.
- Notifications: Implement notifications (e.g., email or SMS) if the ESP32 goes offline.
- Graphical Data Representation: Use charts or graphs to visualize the status data over time.
By following these steps, you can monitor the status of your ESP32 and enhance your project’s functionality.
